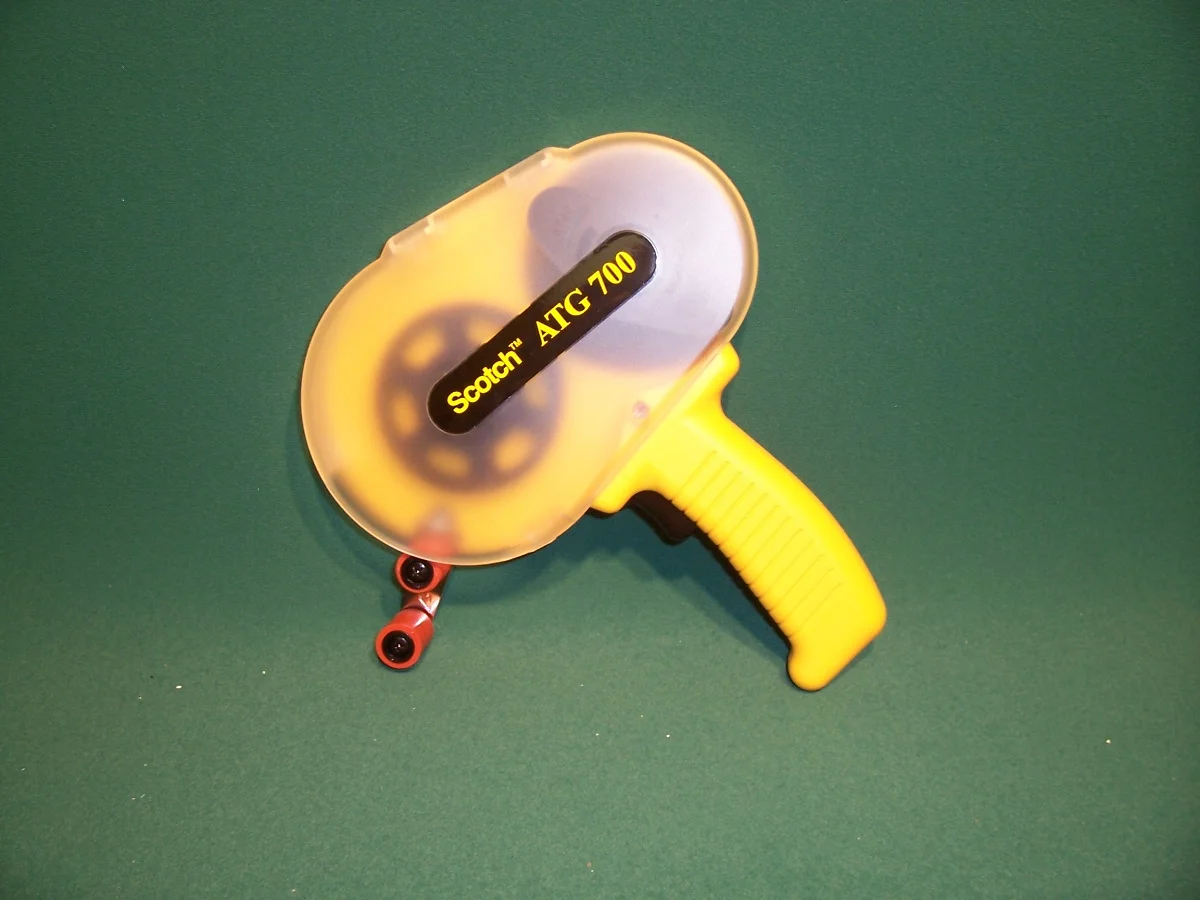
3M™ 700 ATG Dispenser
This ATG dispenser has several features that were developed in response to the requirements of the Stationery, Craft & Hobby and picture framing industries. Unlike most of the other ATG dispensers it can hold a 60 yard roll of standard ATG tape. It has an extended application roller to make tape placement more precise and it will handle 1/4″ wide tapes without an additional adaptor.
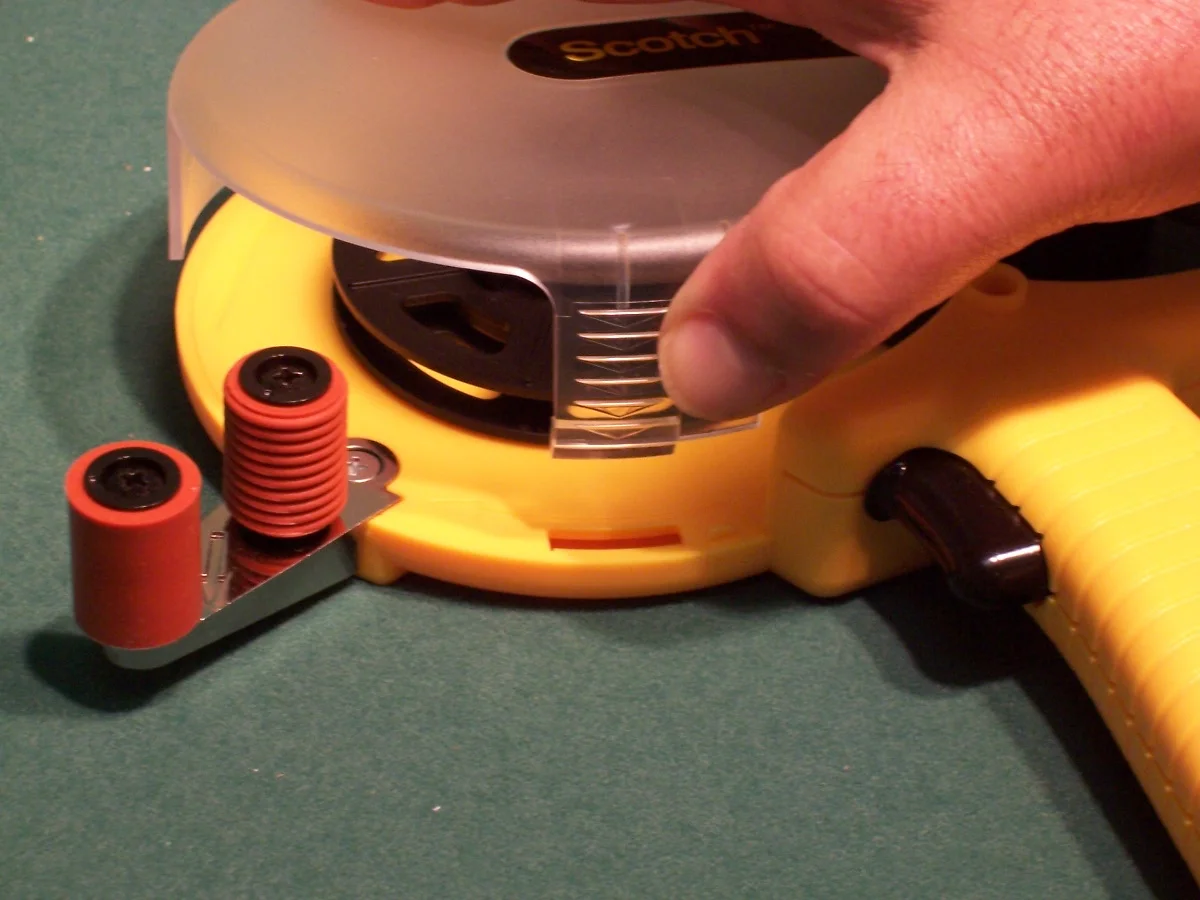
Step 1
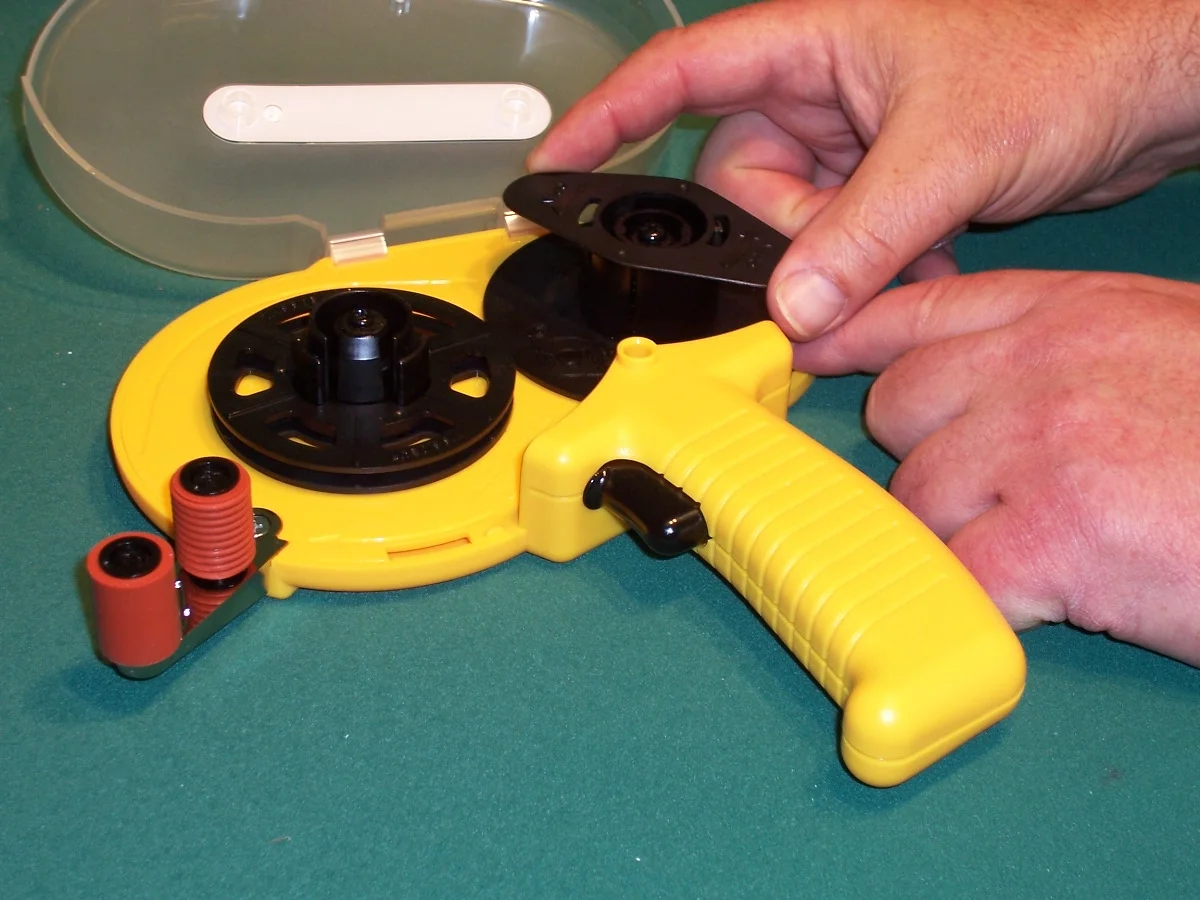
The first and most important step to loading your ATG 700 is opening the dispenser. Seems easy, right? Not always. Hold the handle with one hand while holding the top with your other hand. Place your thumb on the lined tab and press in and lift up at the same time, opening the dispenser all the way.
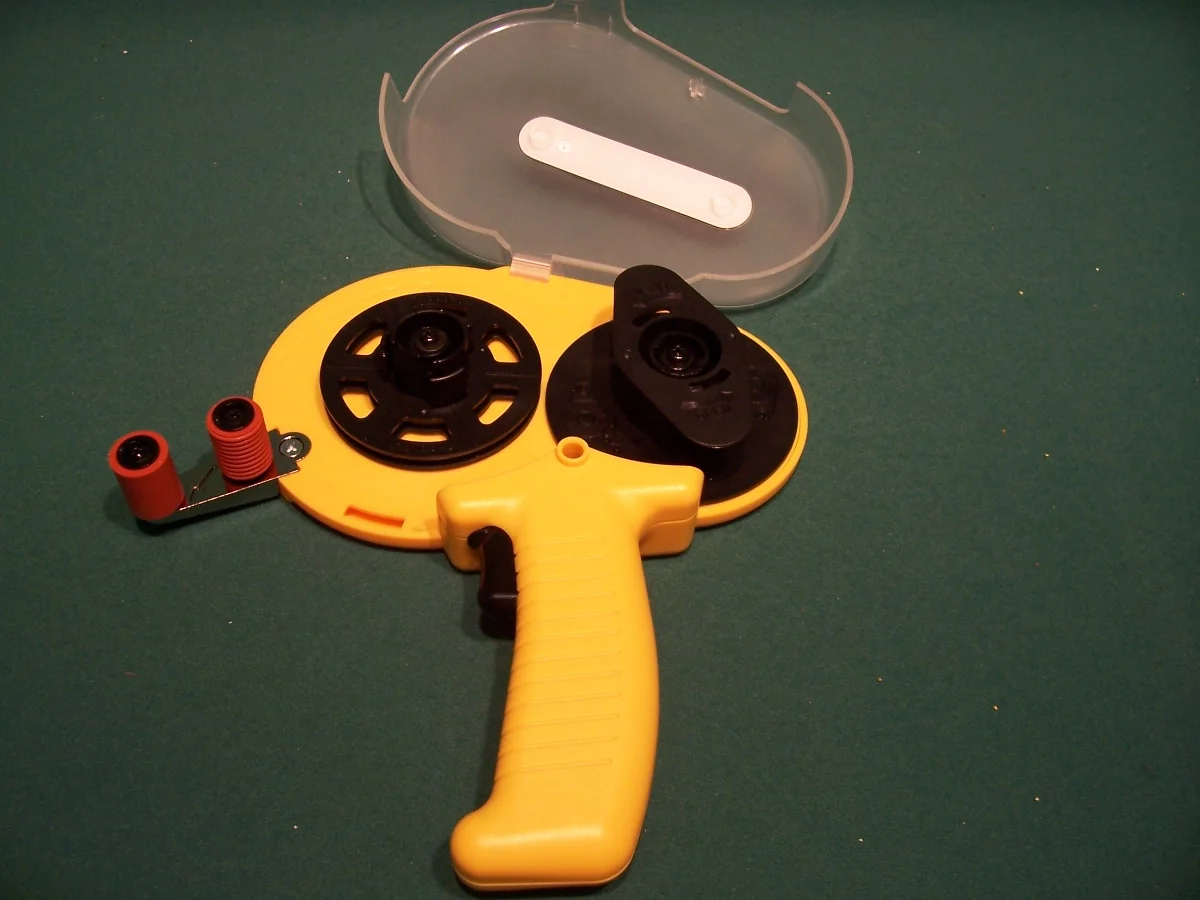
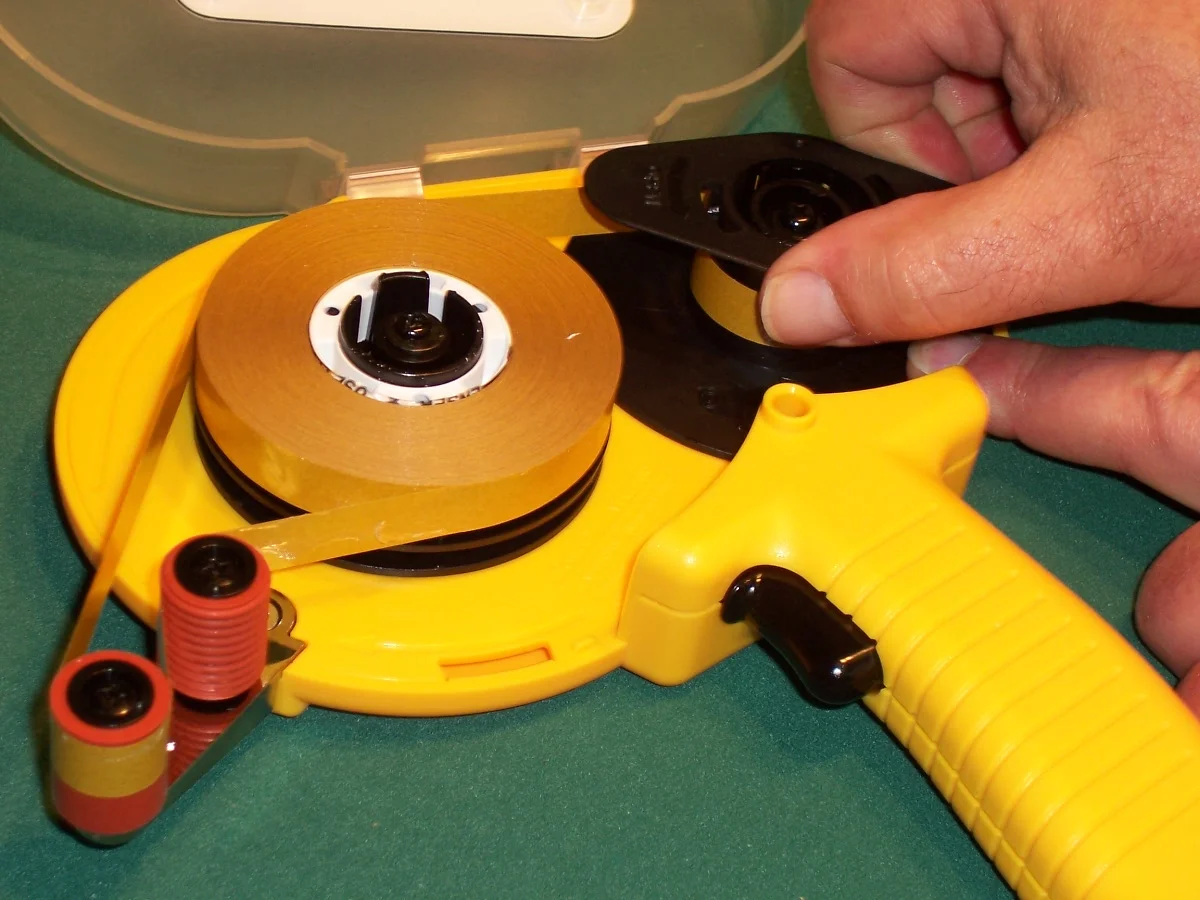
Step 2
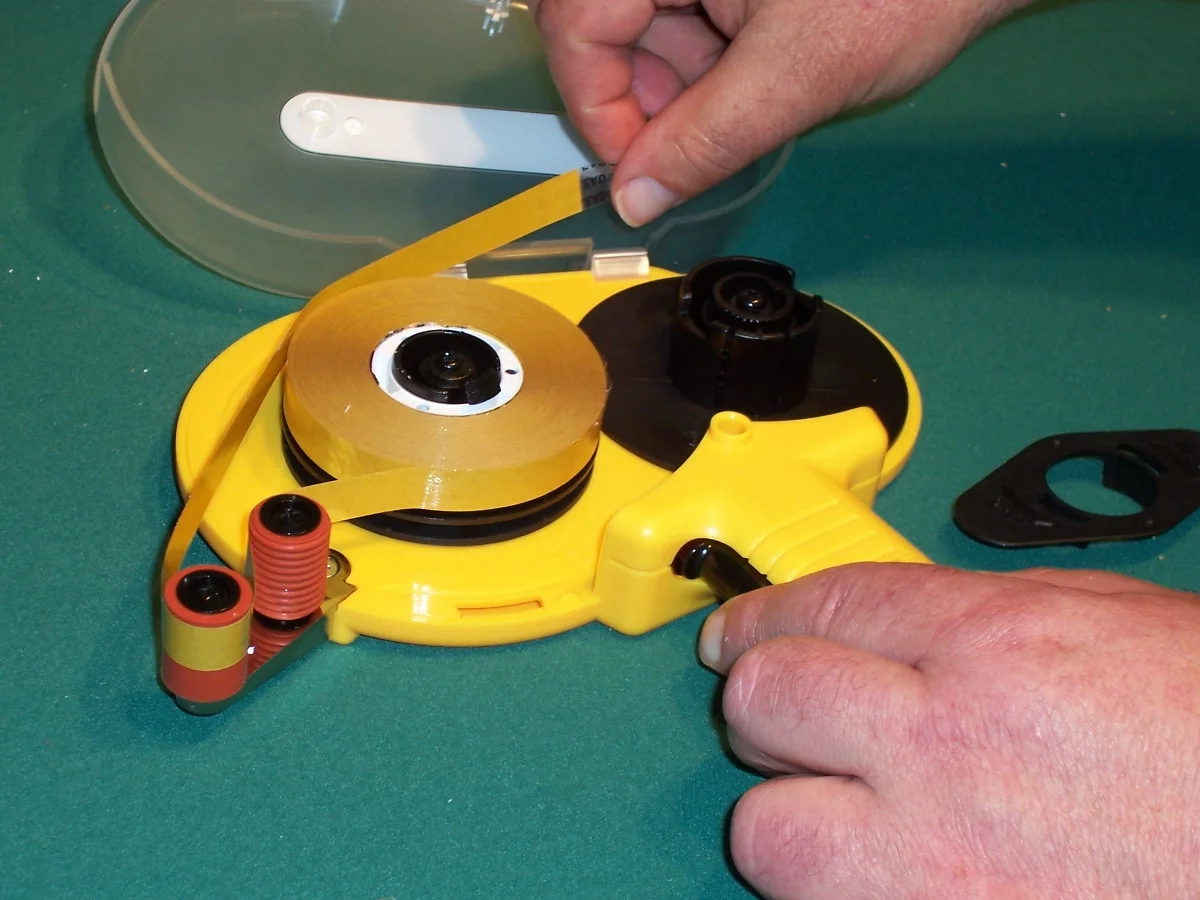
With your dispenser fully opened, take in the beauty that lies before you. As we go along I will point out important components and their benefit. Knowing what your dispenser can do will enhance your taping experience. Now, let's get started with the actual loading of the tape.
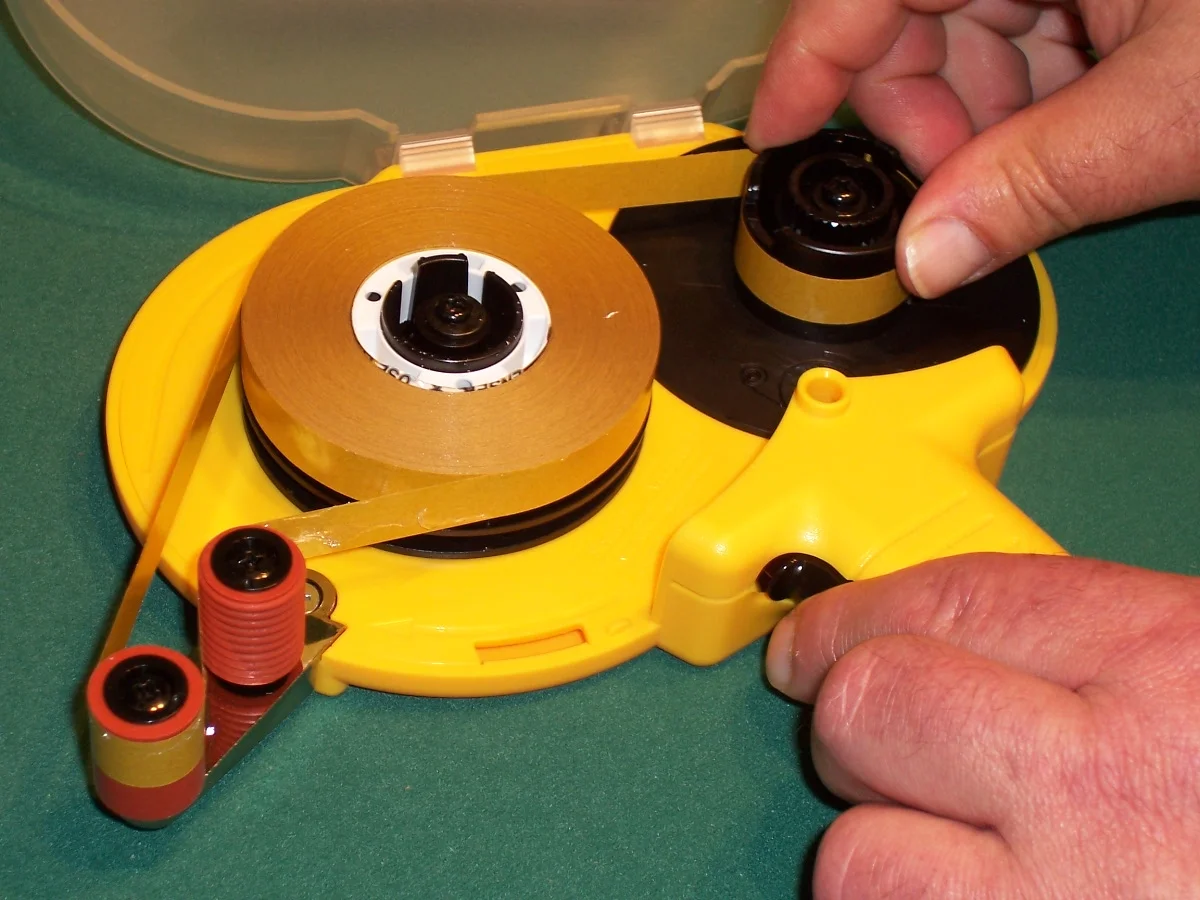
Step 3
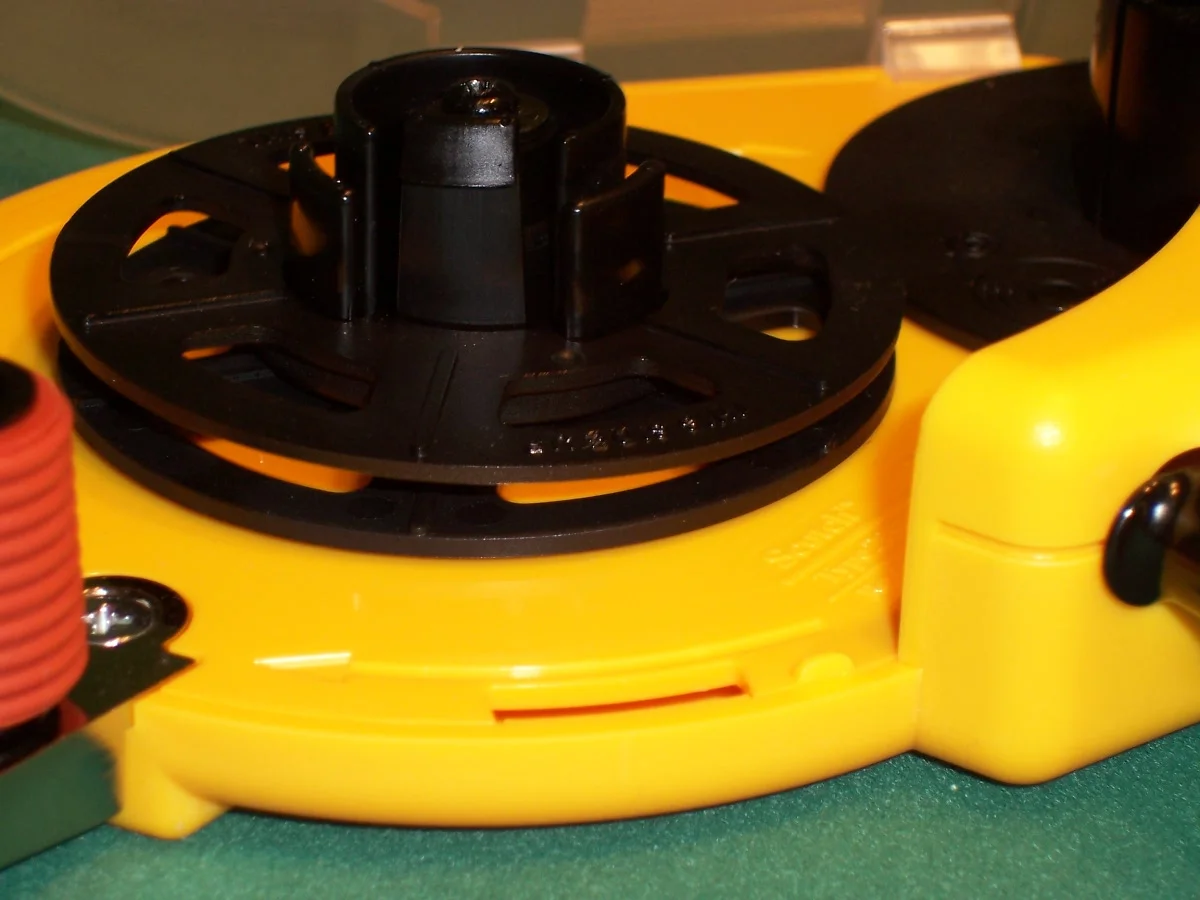
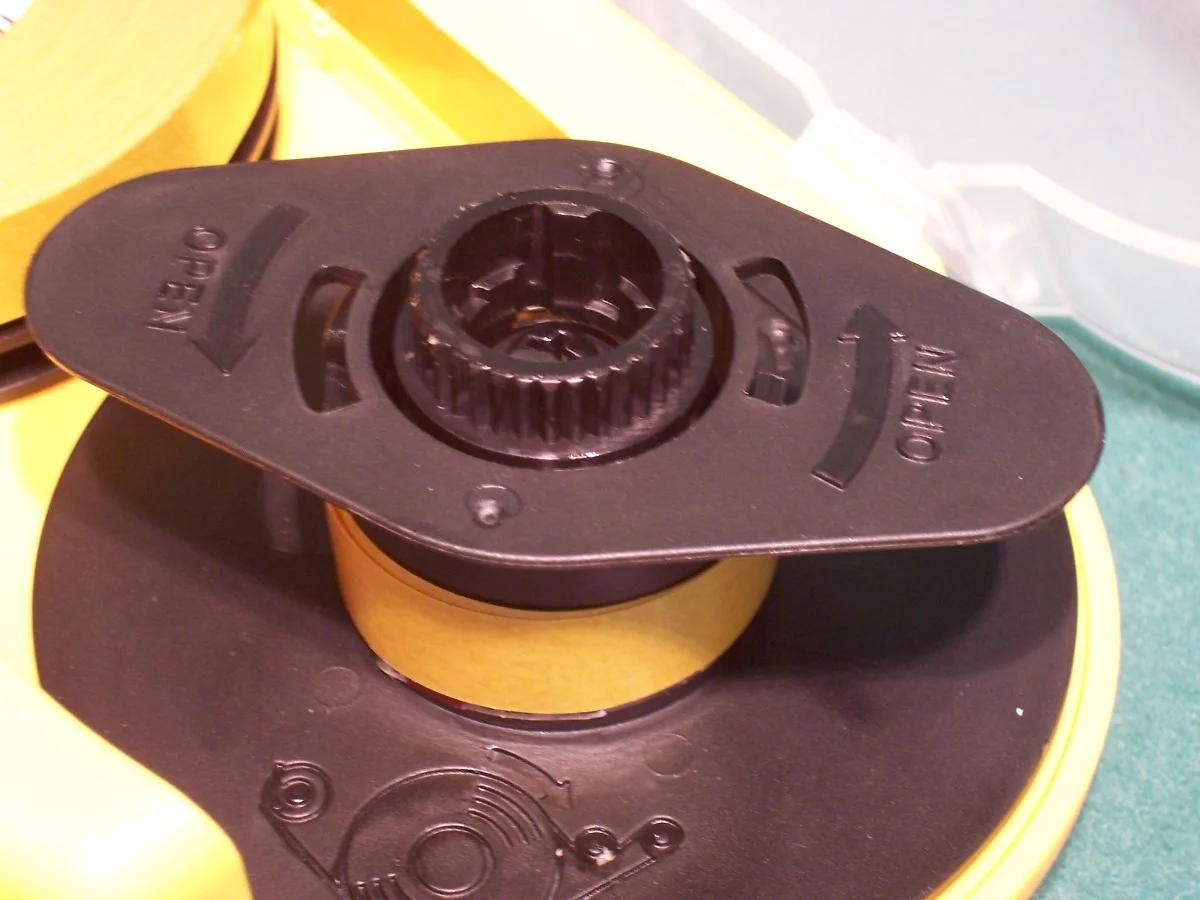
The spindle located on the right side of the dispenser is the pick-up spindle. This is where the waste paper is stored after the adhesive is applied. On top of the spindle is a retainer clip. This helps keep the waste paper from spiraling out of control and jamming the dispenser. Well that's the theory anyway. The truth is that eventually most people lose these. The ATG 700 will survive this. However, until you lose it you need to know what to do with it.
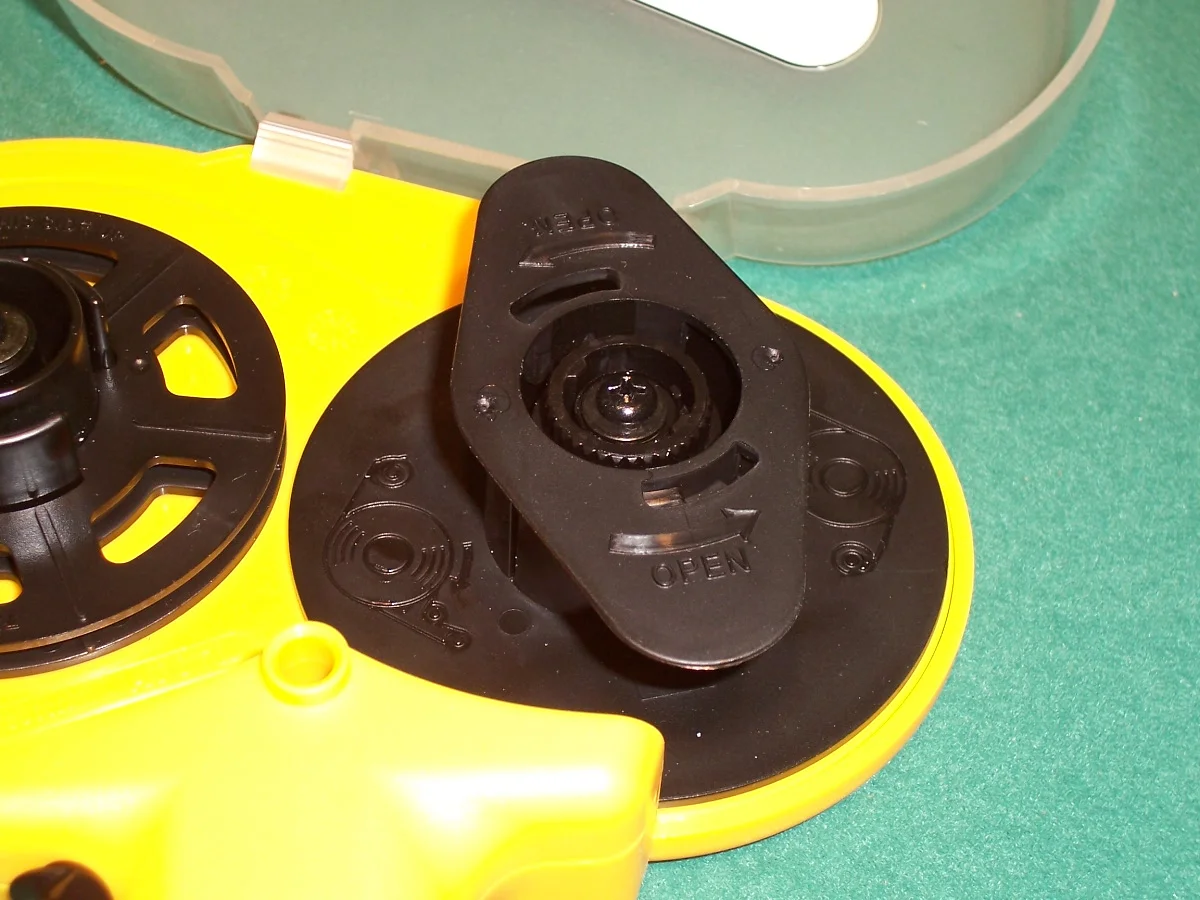
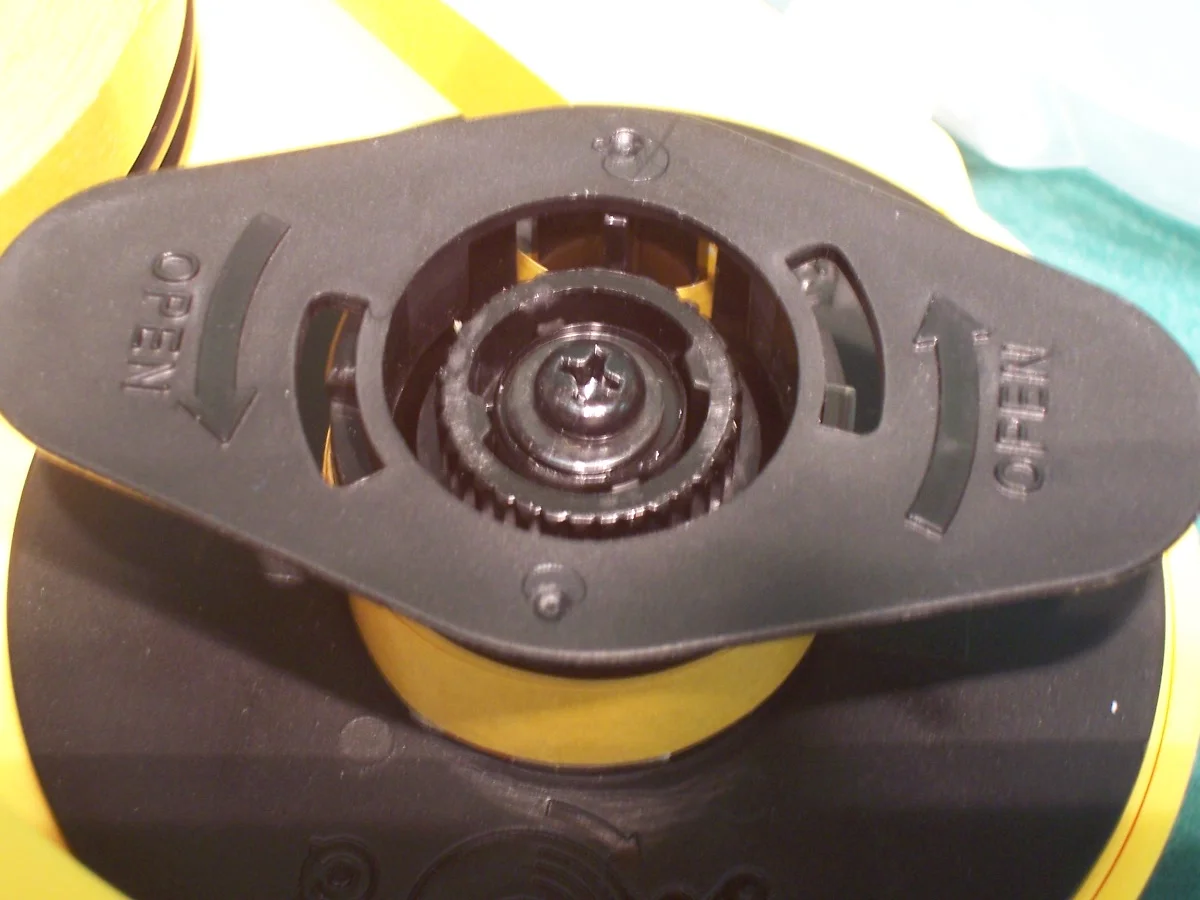
Step 4
To remove the retainer locate the words "OPEN" on the retainer clip and turn the piece in the direction the arrow indicates. Don't lose the clip!!
Step 5
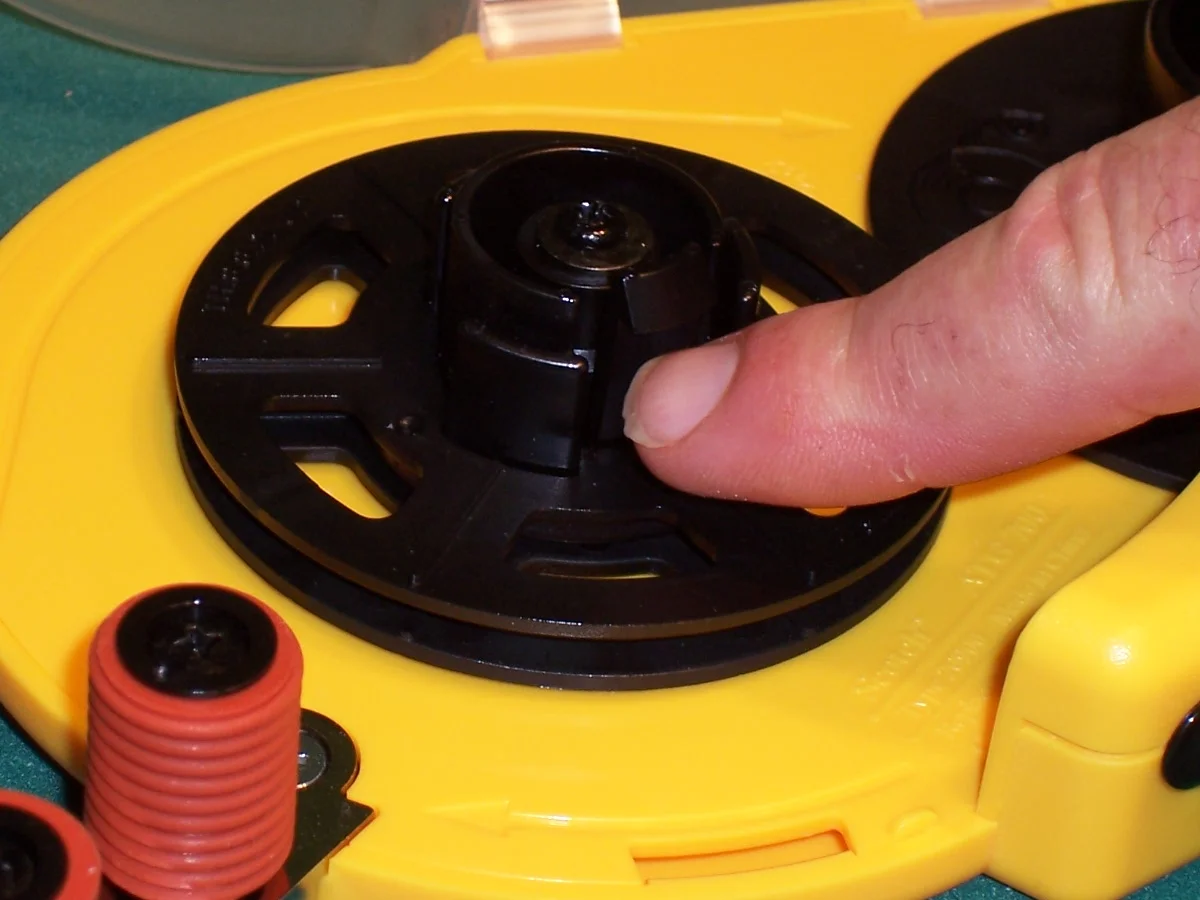
The front (left) spindle is where the tape goes. It has a removable piece known as the positioning platform. This helps keep 1/4" wide tape from rubbing against the side of the dispenser. If you lose this you may actually have some problems. If you are using 1/4" or 1/2" wide tape just leave it in place. For 3/4" wide tapes you have to remove it. If you are using both 1/2" and 3/4" tape I suggest you get 2 dispensers and use one just for 1/2" and the other just for 3/4".
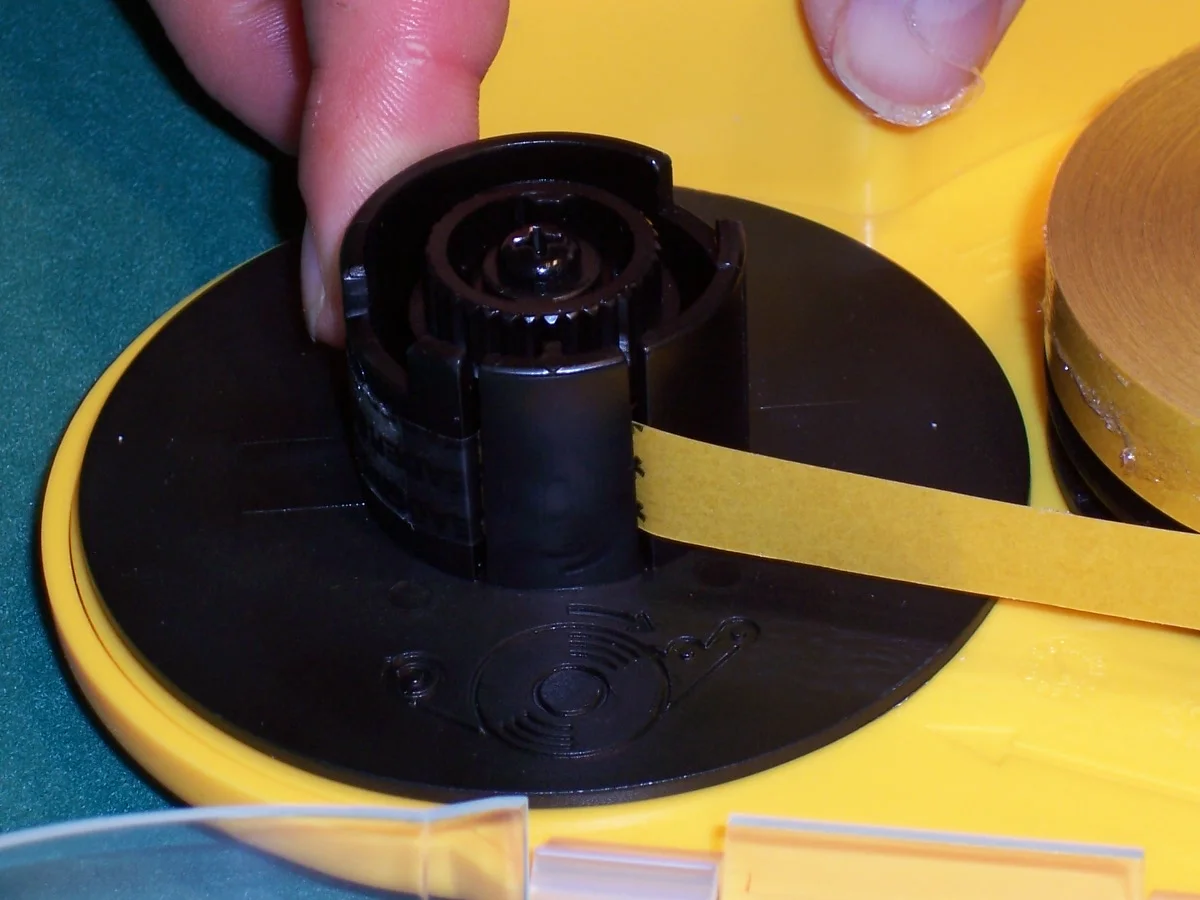
Step 6
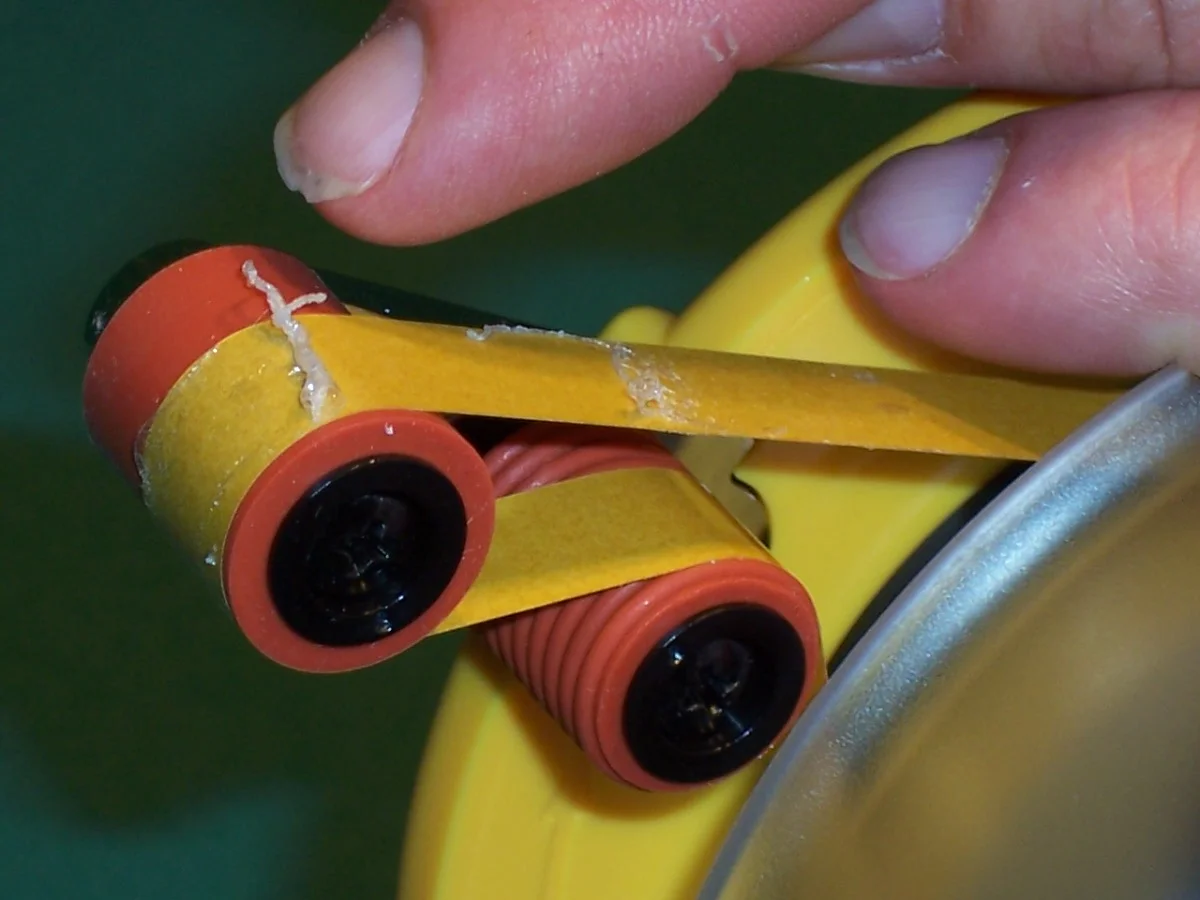
Can you see the three pegs located on the platform? Though the photo doesn't depict the detail as well as we would like, there are three pegs located on this piece that line up with the tape and hold it in steady. Just above my fingernail is a small clip that locks onto the core of the tape. When the tape is on correctly this will lock the roll into place.
Step 7
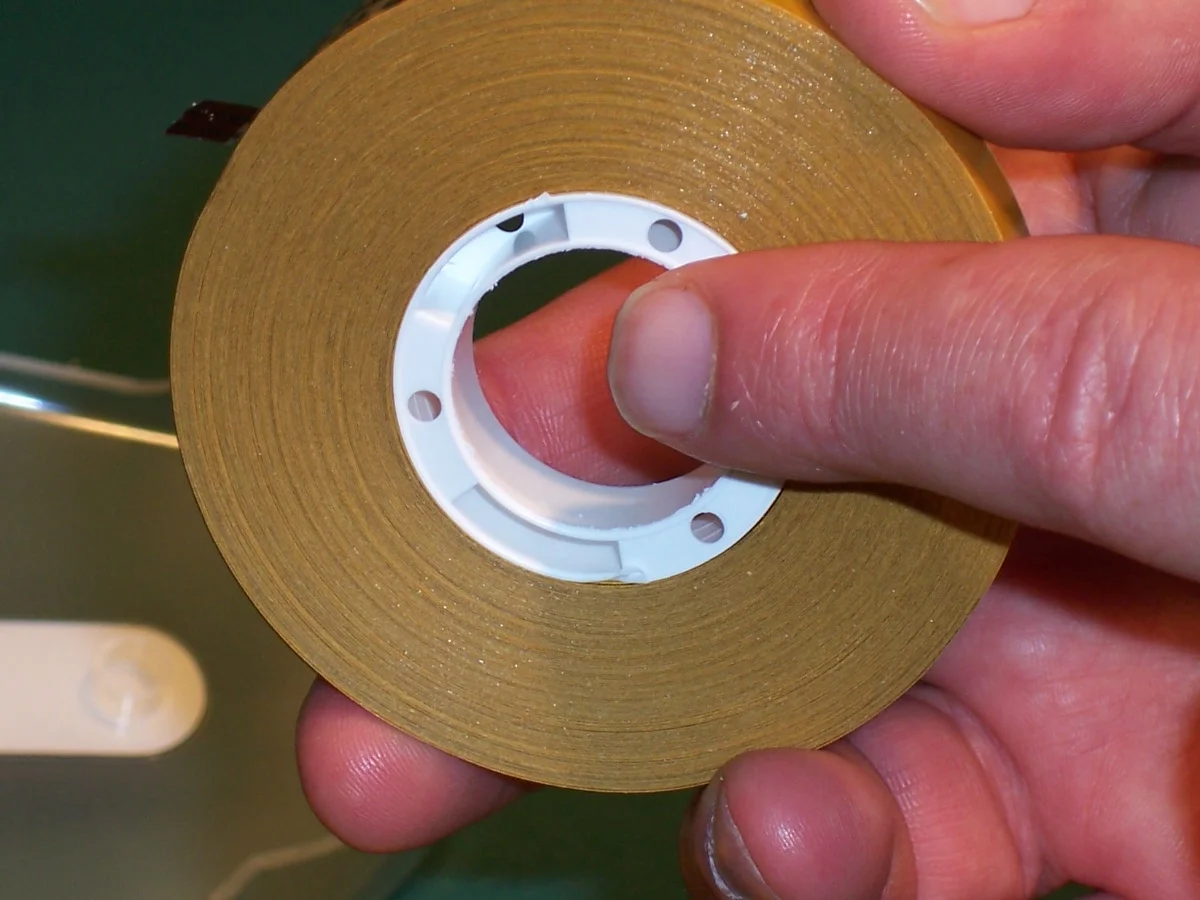
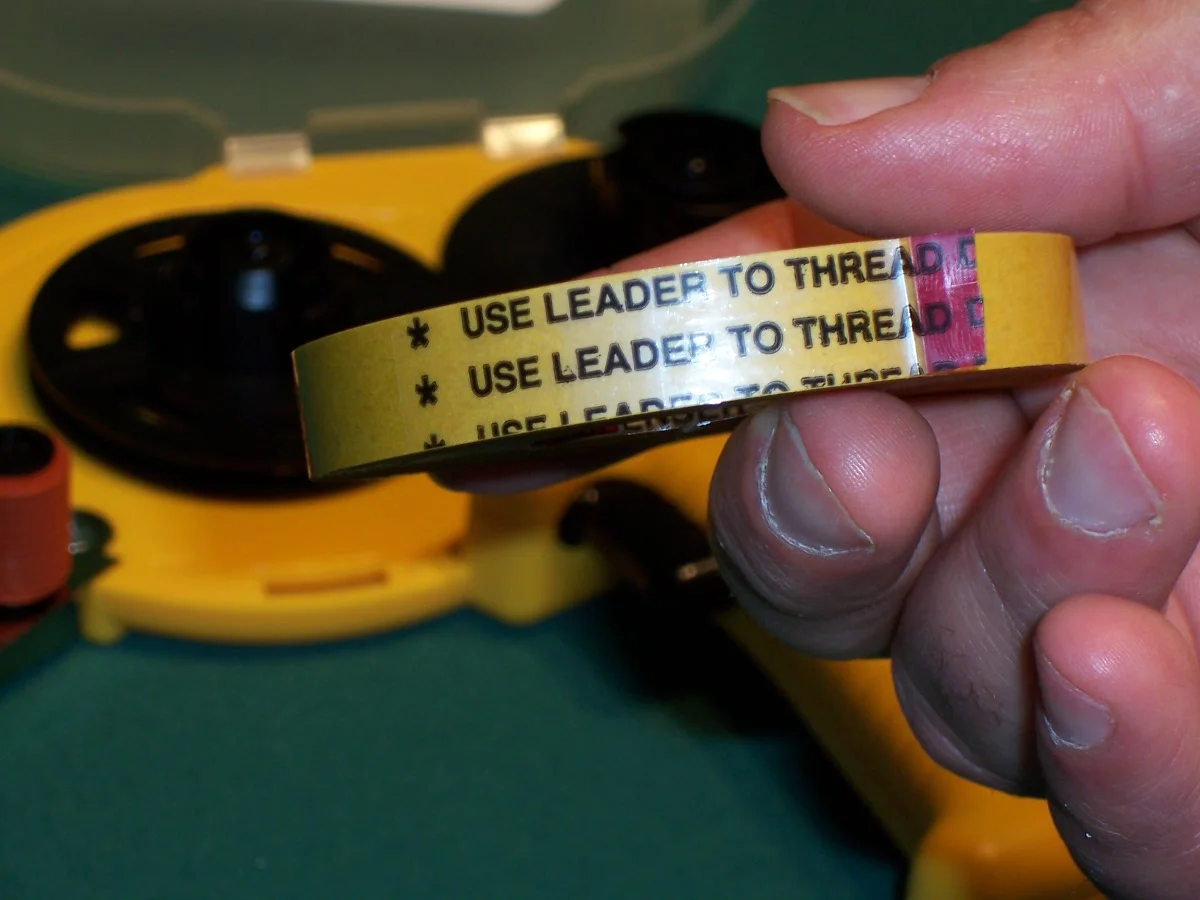
The center core of the tape has this special core with slots in it. These slots correspond to the pegs on the front spindle. If it doesn't have the slots it won't work. Sometimes the slots go all the way through. Sometimes they are only open on on side.
Step 8
Now we are ready to actually load the tape. Hold the tape in your right hand and pull the leader with your left.
Step 9
Make sure that the leader is extended from the bottom of the tape and is pulled out towards the rollers. Place the tape onto the front spindle and line up the pegs with the slots. Push down gently on the white plastic core until the clip locks in place. You may have to wiggle the roll a little to get it to slide on.
Step 10A
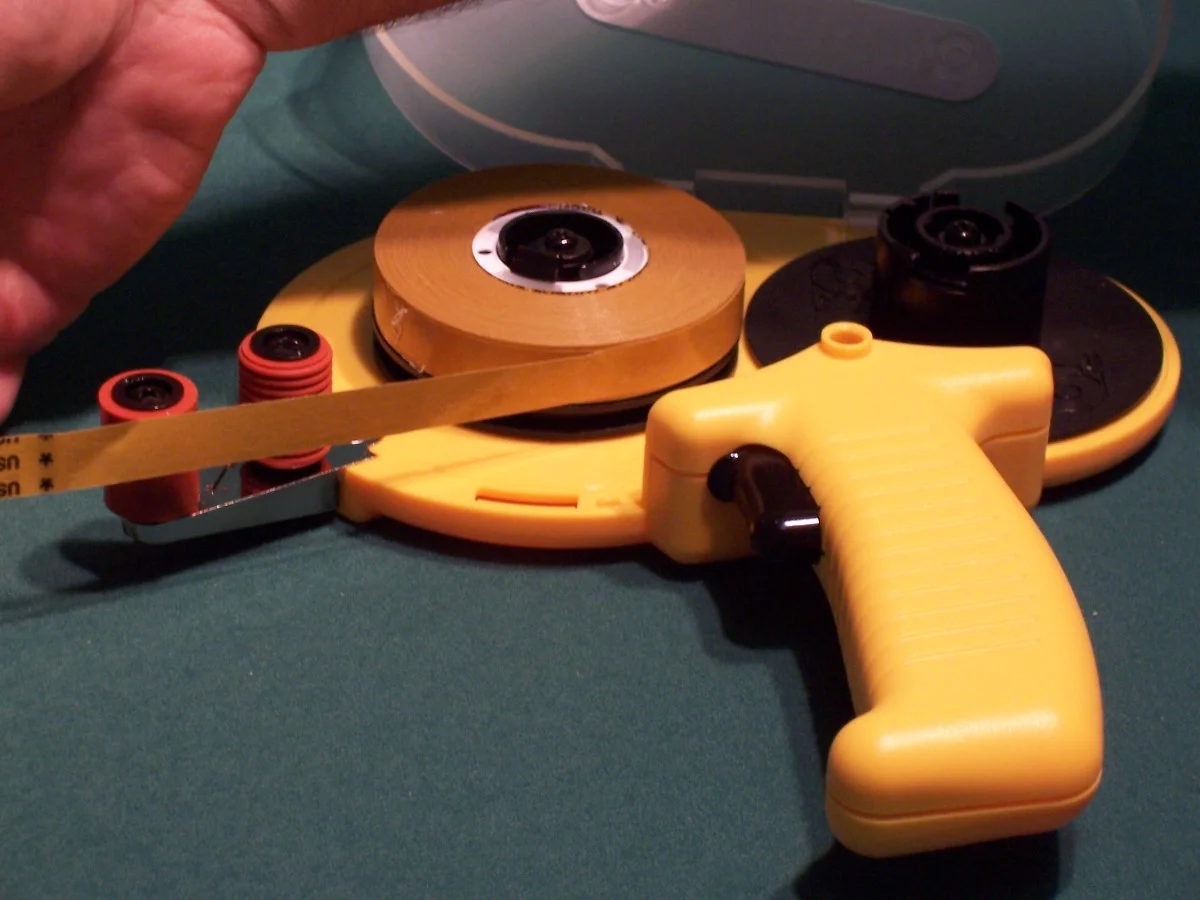
Now it gets a little more complicated. Hold the trigger with your right hand and with your left hand feed the leader over the top of the first roller and around the bottom of the second. Are you still following? Use the picture as a guide. Pull the extended leader around the top of the tape until you reach the pick-up spindle. Let go of the trigger. The pick-up spindle can turn with out holding the trigger. Turn the pick-up spindle until the 2 pick-up slots (see next photo) are at the top of the dispenser.
Step 10B
This is a photo of the pick-up slots. They are hard to see in the photo but they are easy to find on the dispenser. Turn the spindle so the slots are at the top of the dispenser.
Step 11
Feed the leader into the slots. Stick the adhesive end of the leader on the outside of the spindle. For better clarity I turned the dispenser upside down in this photo.
Step 12
Hold the trigger and turn the pick-up spindle 1 full turn clockwise. This will lock the waste paper in place.
Step 13
Replace the retainer clip (unless you have lost it).
Step 14
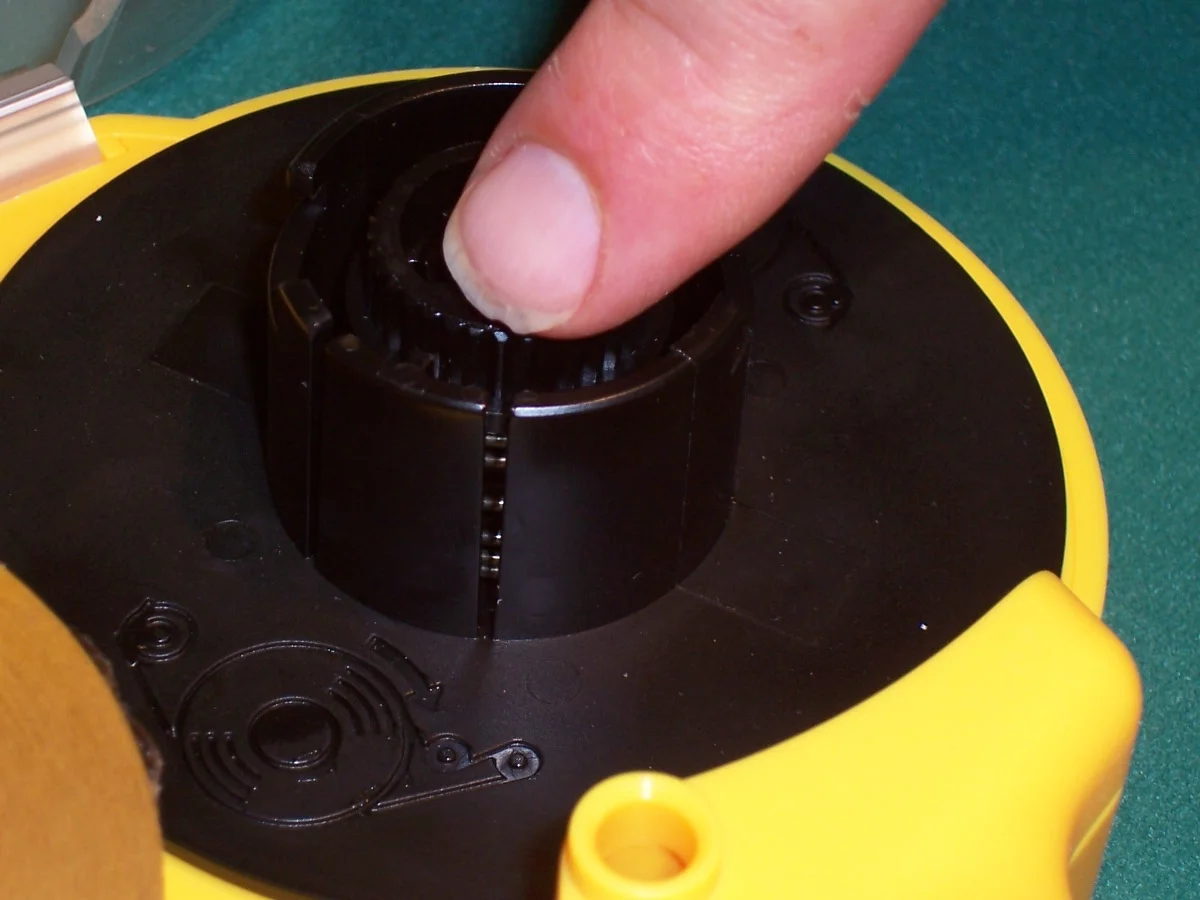
Tension adjustment. This is truly one of the most important steps but nobody tells you about it . Well here it is. The dispenser will not function without some tension on it. The tape will be come loose and not wind up correctly if the tension is too low. In the center of the pick-up spindle is a small knob. If you press down on the knob and turn it it will click into various positions. The lower down it stays the higher the tension. This photo shows maximum tension.
Step 14W
If you look at this photo this shows the dispenser with no tension on it. This is very bad. The dispenser will not work very well with no tension on it. Unlike the retainer clip if you lose the tension control knob you have a big problem.
Step 15
If the adhesive wraps too far around the application roller it will not apply correctly. Simply wipe down the adhesive until it ends in the middle of the application roller.
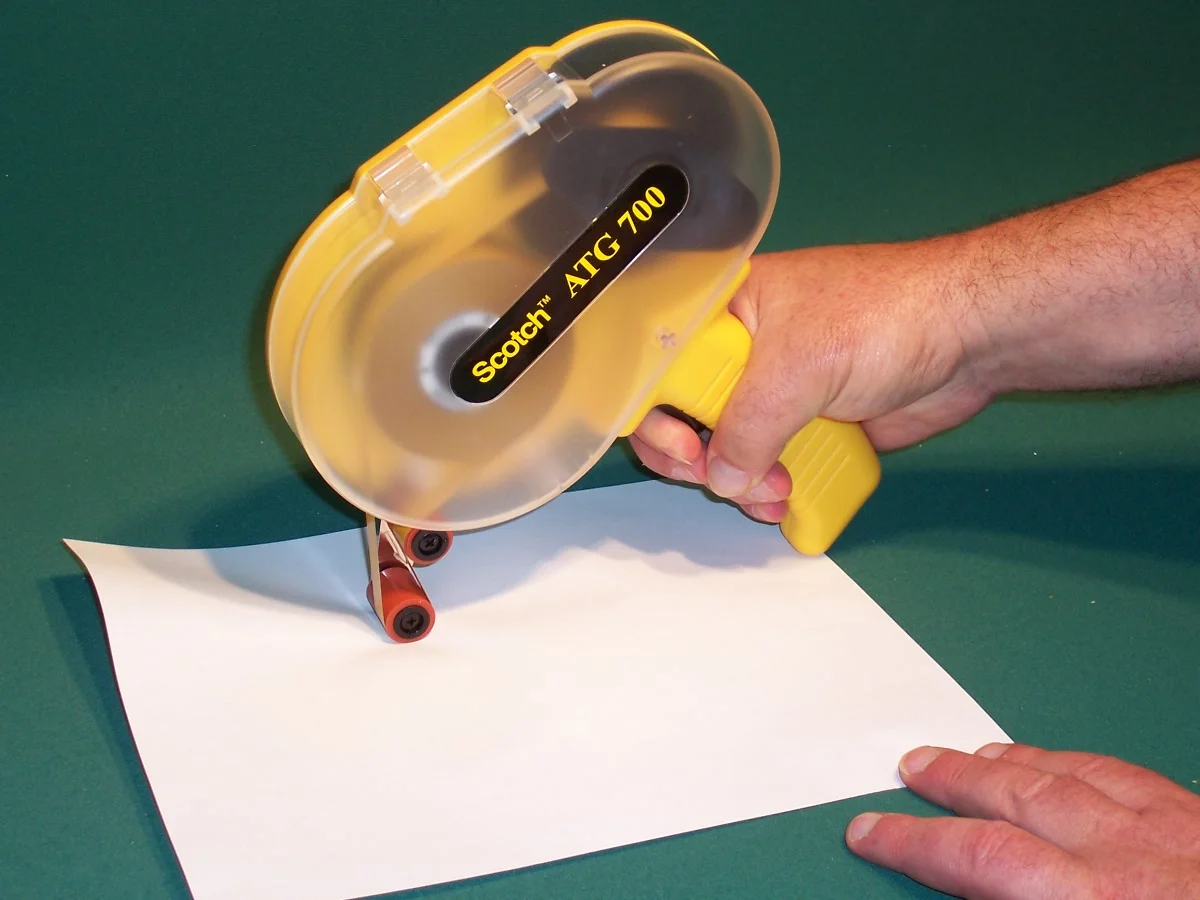
Step 16
You are now ready to enjoy using the ATG 700. Simply put the application roller on the surface where you want to start applying the adhesive, pull the trigger and pull the dispenser backwards. When you get to the end let go of the trigger and lift up. The adhesive will make a clean tear and the waste paper is automatically wound up inside the dispenser.